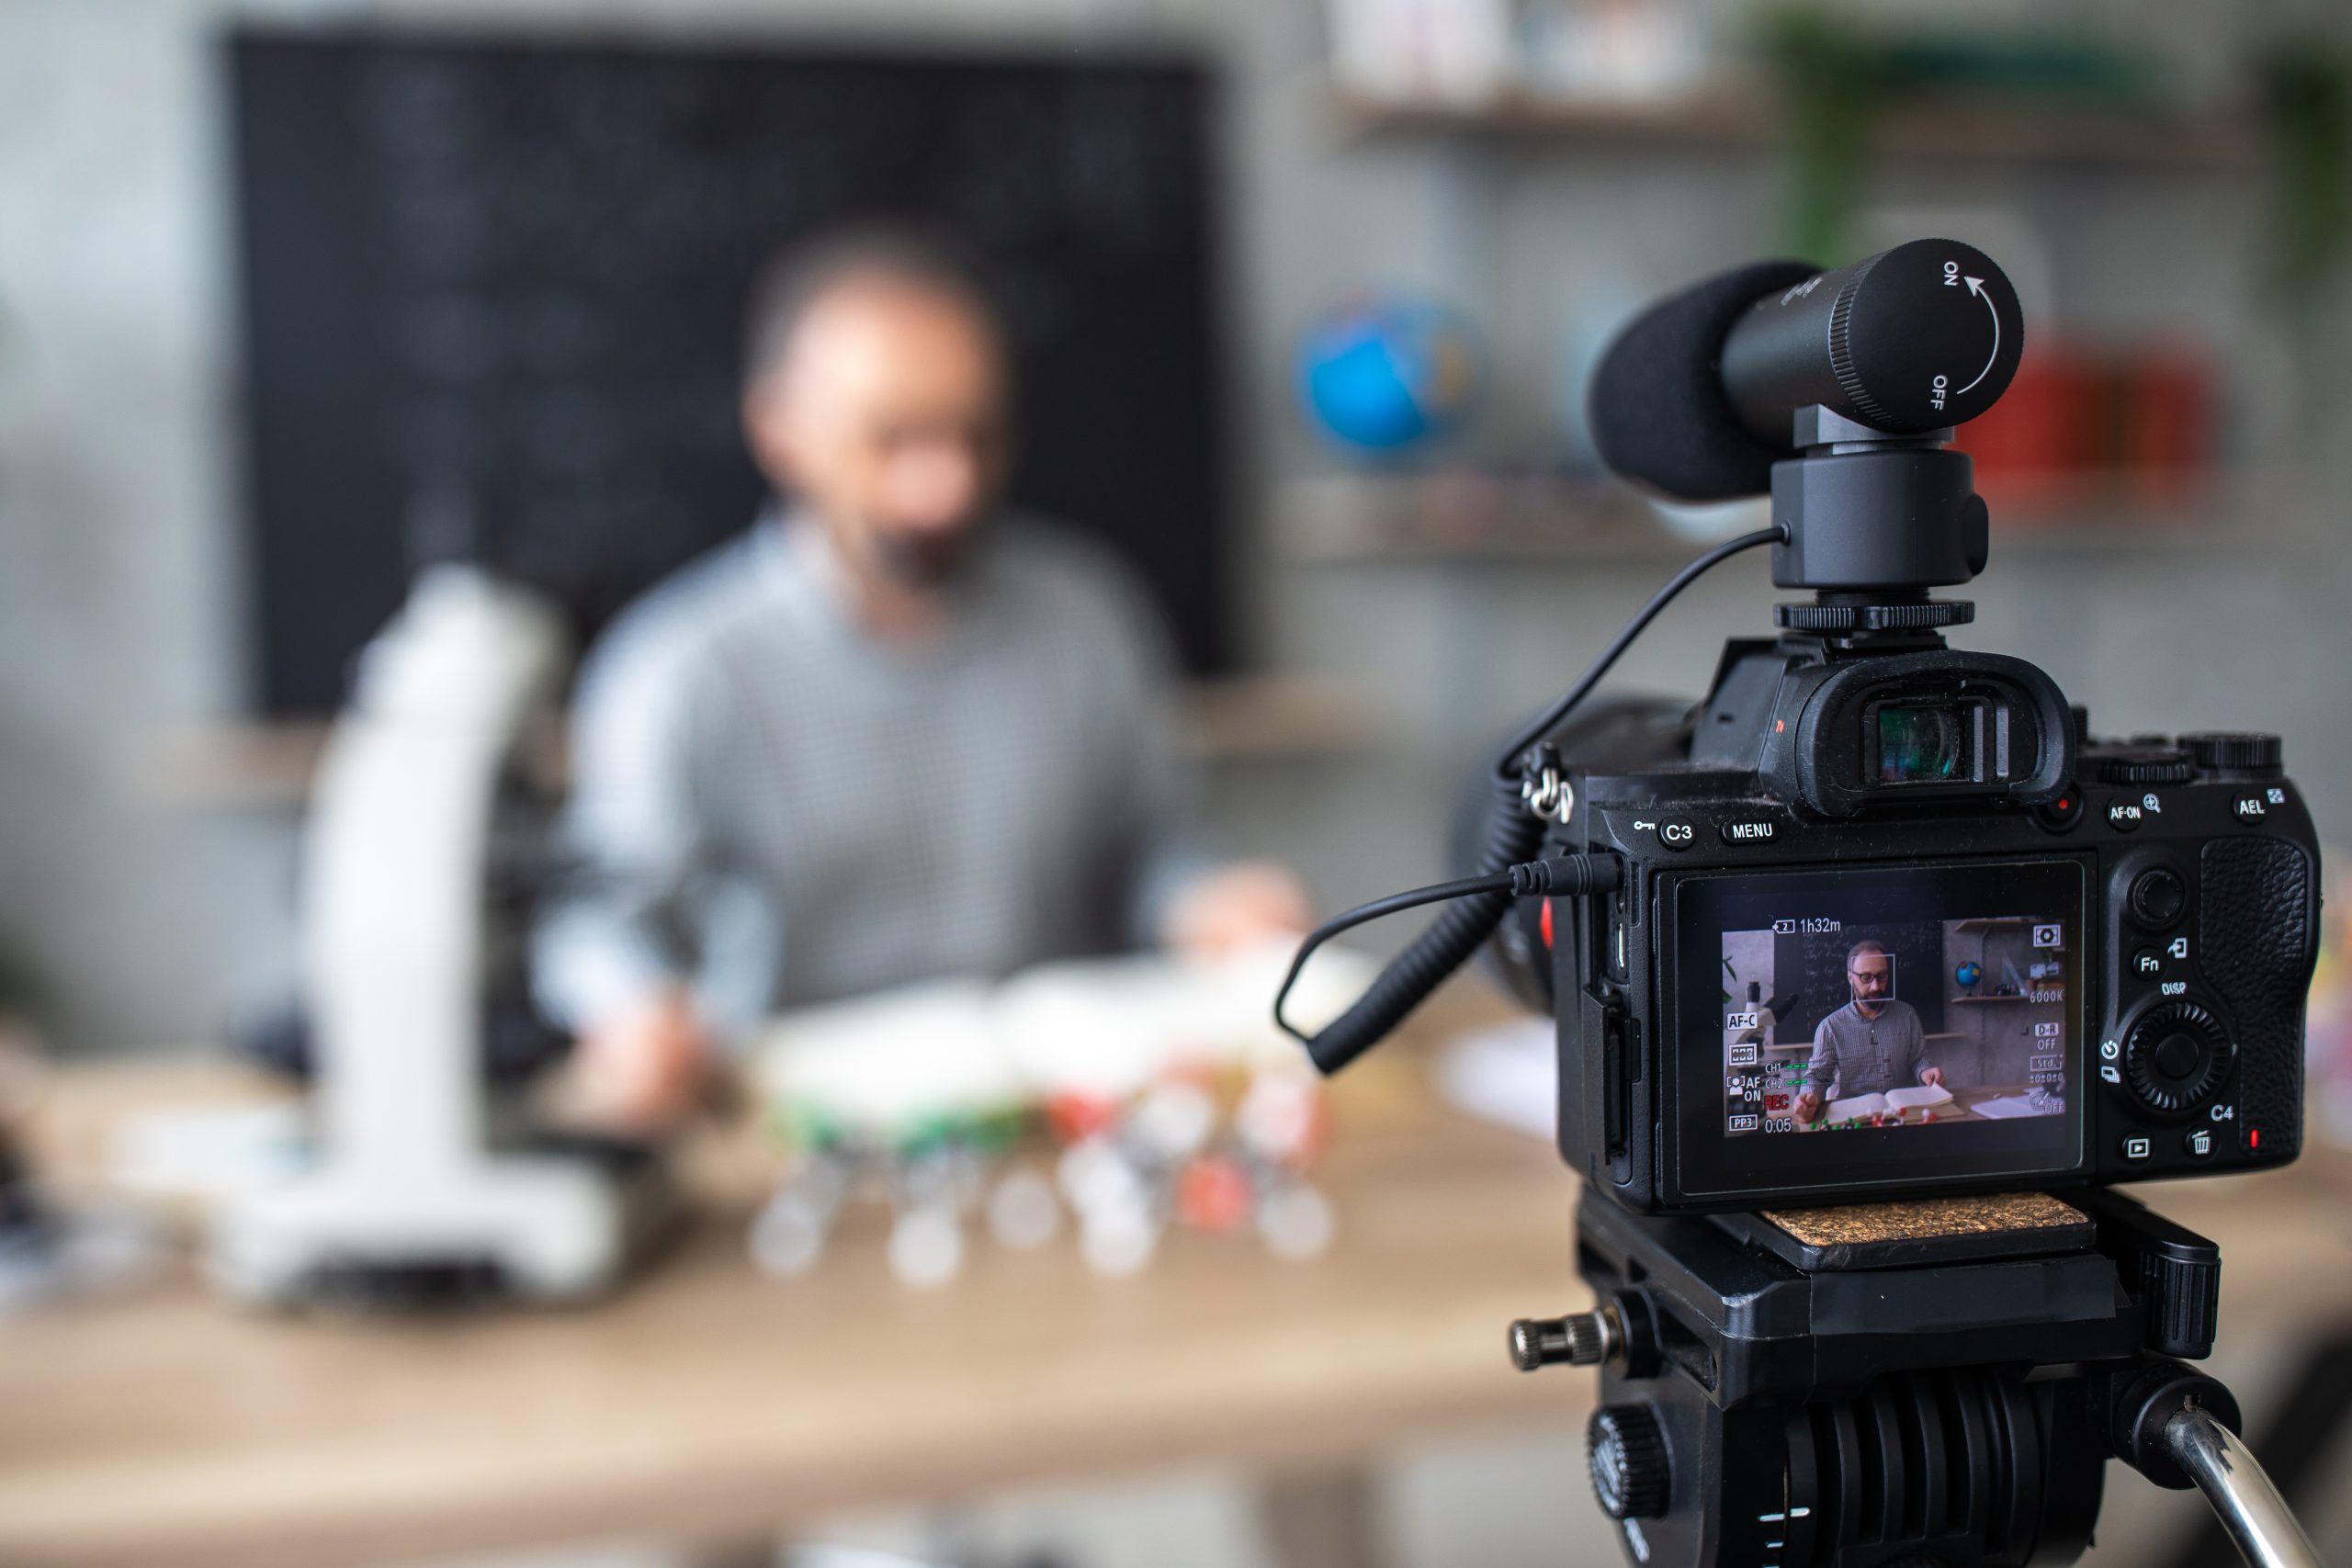
Image by miodrag ignjatovic from Getty
Video in online teaching materials and communications
Content reviewed July 2023
While presenting synchronous and asynchronous online classes and sharing video in the in-person portion of blended classes there will be some barriers learners might face. Examples of barriers to accessing or fully engaging with your content include both barriers covered in the audio and image sections such as:
- Viewed in very bright or extremely dark environments
- Low vision or legally blind
- Visual processing disorder or Irlen Syndrome (Scotopic Sensitivity Syndrome)
- Neurominority (dyscalculia, ADHD, dyslexia, or autism)
- Prefer to listen to sessions.
- Viewed in very bright or extremely dark environments
- Low vision or legally blind
- Visual processing disorder or Irlen Syndrome (Scotopic Sensitivity Syndrome)
- Neurominority (dyscalculia, ADHD, dyslexia, or autism)
- Prefer to listen to sessions.
- Have photosensitive epilepsy.
- Noisy background in their environment
- English or French is a second language.
- Hard of hearing or deaf
- Neurominority (ADHD, Dyslexic or Autist)
- Have a vestibular condition that is affected by sound (e.g., Superior canal dehiscence syndrome)
To improve learning outcomes and knowledge transfer to students, we have some practical steps for you to follow.
- Equipment and technology
- Physical space
- Planning for video
- Create holistic video content
- Communicating
- Benefits to describing the visual and auditory content during a presentation
- When presenting
- References (also refer to audio and image references)
- Video help for your online course
Equipment and technology
- Use a high-quality microphone and camera. Use quality lighting on your face when you are if you are on camera.
- Turn on the auto-captions for each session in Zoom or other meeting software. You can often set that as default to happen all the time so you do not forget.
- In your Zoom, Webex or MS Teams use Q&A for questions (and not chat) as the chat function causes cross-talk or overlapping conversations for screen readers users. Create a backchannel chat location for students to chat during sessions and share ideas so as not to leave out students who need text options.
- Record your synchronous sessions for student review (or asynchronous learning). Some students who have difficulty processing auditory information, and difficulty with note-taking (writing and listening at the same time), may need another opportunity to process the information.
Physical space
- When it is feasible, present from a quiet space where background noise is reduced.
- Ensure your background is neutral and not distracting to reduce conflicts and distractions.
- Ensure adequate light falls on your face if you are on camera.
- Do not speak with your back or side of your face to the camera.
- In blended classes, ensure the camera for online members captures your face.
- Do not pace around. This makes it hard for lip readers and hard-of-hearing individuals to follow conversations and hard for remote learners to see everything.
Planning for video
Tip: Practice speaking to ensure you can sustain volume, enunciation and pronunciation for whole sessions or classes, including a short voice warm-up routine before starting new teaching sessions.
- Review the audio portions to ensure you advise the audience of triggers such as containing violence or loud or shrill sounds that can trigger vertigo in people with Superior canal dehiscence syndrome (SCDS) or people who are part of the neurominority (ADHD, Autism).
- Review the video portion to ensure you can advise the audience of triggers such as violence, high-contrast visual patterns, especially stripes of contrasting colours which can trigger seizures or using bright or fluorescent colours, which can be overwhelming and cause problems for people with sensory issues like Irlen Syndrome or autism and strobe effects which can trigger seizures.
- Build in advance notice of the trigger into the presentation and allow ample time for people to opt out of listening and viewing the recording for your live session.
- Note the timestamps of where important sounds or video begins and where it ends. This allows students to focus on the key item and include them in the presentation.
- Include captions of the video presentation or session
- Use standard closed captions. Do not use open captions with varying fonts, all capital letters, changing colours or extra motion like Hormozi-style captions named after YouTuber Alex Hormozi.
- Review the transcript if one exists and edit it for accuracy and add notes for emphasis where needed.
- If no existing transcript exists and you did not generate the content, get copyright permission to create a transcript. To generate a transcript of the audio, start with the auto-generated, edit the transcript for accuracy, and add notes for emphasis where needed.
Create holistic video content
- Accessible videos have audio descriptions (AD) to describe items not captured in the audio for those who will not see the video. Traditionally AD’s are merged with existing audio and are accessible as a selectable separate audio track, but most video players do not support this secondary audio track.
- If you describe the visuals and auditory in the original narration or your presentation, you avoid having to create a separate audio file or transcript for the content. Then your video with captions and transcript with cover visual-only learners (no audio), audio-only learners (no visuals) and text-based only learners (no audio or visuals).
Communicating
- Communicate in your video or about a video you are presenting as if people will not see or hear the audio (as they are using a transcript)
- When providing a pre-recorded video, supply a summary of key points to listen to or view. Include timestamp information here.
- Host video files and transcripts of the video used in the synchronous presentation online. This allows learners to access information asynchronously afterward and for hard-of-hearing and deaf students to have access to transcripts.
- When summarizing or transitioning to a pre-recorded video: Replace phrases like: “As you heard,” “You are about to hear,” “As everyone could clearly hear,” “As you can see,” “You can see here,” or another phrasing that assumes that everyone hears or sees the same way with “This video recorded…” “This video will … “, “This video captured …”
- Keep hands, glasses, and other objects away from your mouth when talking.
- Speak clearly and naturally, though perhaps more slowly than usual, to ensure your audience can follow your audio or captions.
- Speak in a normal (and not exaggerated) manner.
- Pausing slightly after technical terms is helpful to allow auto-captions to correctly caption and lip readers to understand.
When presenting
- Keep hands, glasses, and other objects away from your mouth when talking.
- Speak clearly and naturally, though perhaps more slowly than usual, to ensure your audience can follow you by audio or captions.
- Speak in a normal (and not exaggerated) manner.
- Pausing slightly after technical terms is helpful to allow auto-captions to correctly caption and lip readers to understand.
- Do not pace around. This makes it hard for lip readers and hard-of-hearing individuals to follow conversations and hard for remote learners to see everything.
References (also refer to audio and image references)
Creating Accessible Transcripts or Captions for Video-Based Learning Resources by the University of Waterloo
Video accessibility tip by Todd Marquis Boutin via LinkedIn post
UnderstandingTime-based Media by WC3
Why Good Captioned Videos Are Important by Meryl Evens on Meryl.net
Video help for your online course

If you are looking to record video presentations, podcasts or high-fidelity audio for your online, blended or distributed course, the MB Hub has access to a full video and audio recording studio, which our one-on-one consultation service can book.
We have staff to help you with video and audio cleanup and repair, mixing, and mastering existing audio as part of your online, blended, or distributed courses.
The audio and video studio is located at UM Fort Garry Campus in The Centre for the Advancement of Teaching and Learning.
Book a one-on-one “Creative Media Consultation” with our digital media specialist to begin your project today!
You may also be interested in

Equity, Diversity, and Inclusion in Online Teaching: Where to Begin
Developing online learning activities for blended or distributed learning courses