Quick tips for preparing and recording video lectures
Based on the MB Hub blog post: Quick Technology Tips for Teaching Video Lectures Written and designed by Alison Fung, originally published on April 28, 2021.
Revised by JJ Cloutier
Content review November 2023
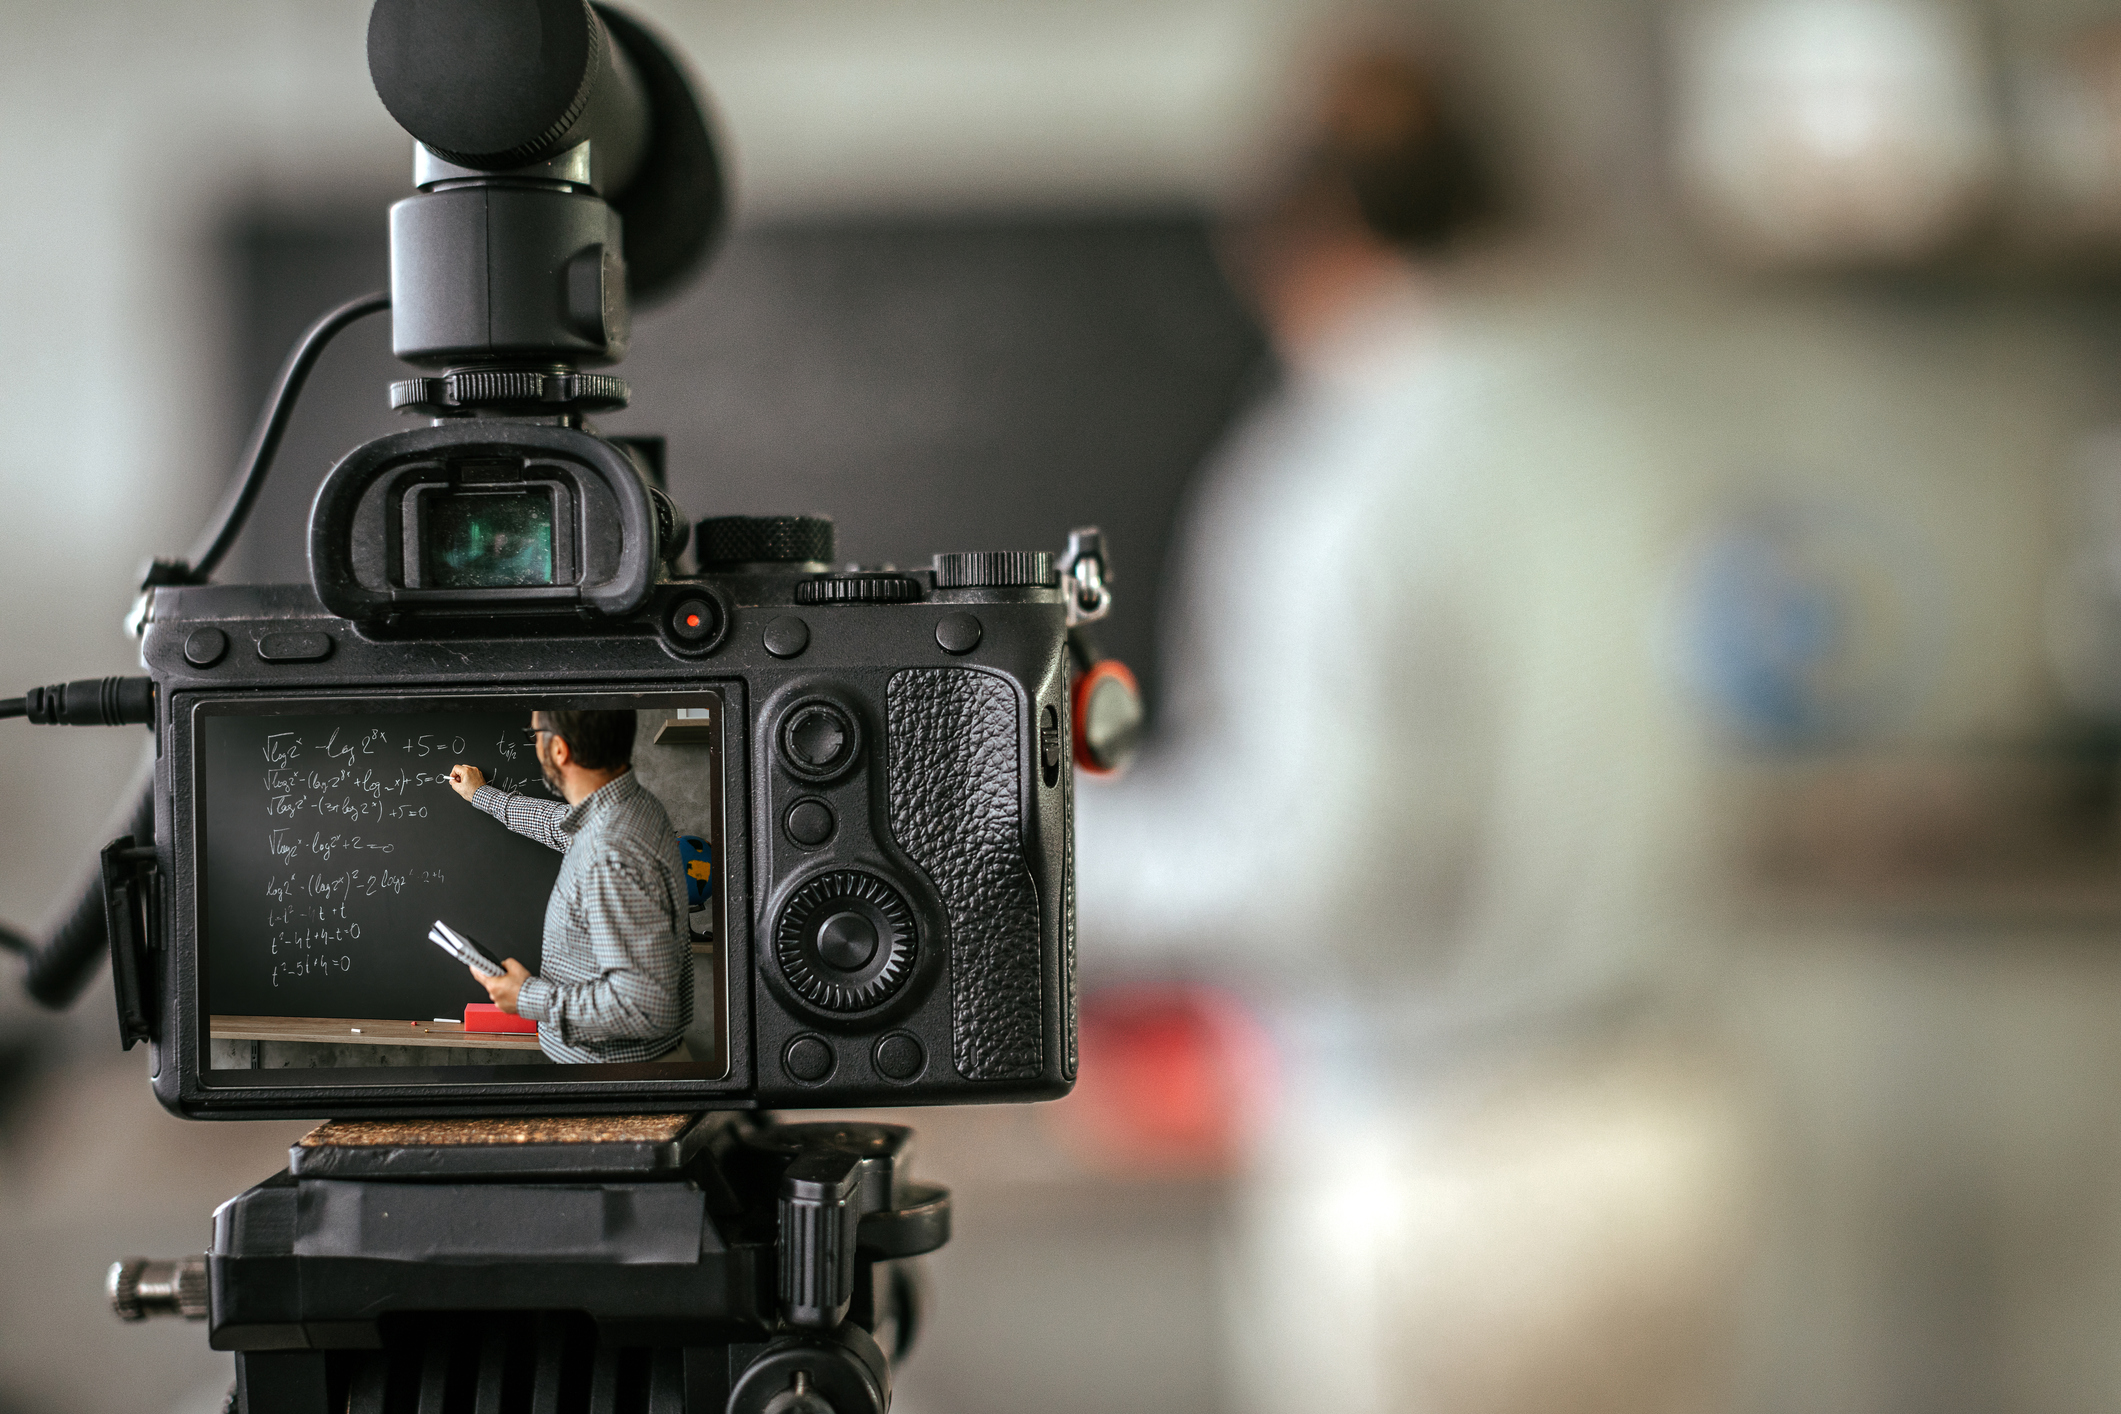
You don’t need to be an audio or video professional to record quality lectures! Manitoba Flexible Learning Hub’s Digital Media Specialist Alison Fung presents some quick technology tips and a downloadable infographic that outlines tips for filming online video lectures.
Prepare your script
You don’t need to plan what you’re going to say word-for-word, but you should have an outline or bullet points to follow. This will help you avoid tangents and cover everything that you want to within your allotted time.
Separate your lessons
For best engagement, content should be broken up into digestible chunks. Try showing a short video, giving an example, or asking a question to break up your sections. You could even tell a story or display an image to help transition to the next section of content. Making this transition visually different from the other lecture content will help generate and maintain interest.
Find a quiet space
Few things are more distracting than mystery noises during a lecture! You don’t need a recording booth to have good audio but if possible, try to schedule laundry and piano practice outside of recording time.
Use natural lighting
Ready for your close-up? Good lighting helps students see you better; there’s no better lighting than sunlight! Many students find lectures to be more understandable when they can see your expressions as you speak.
Frame your video recording at eye level and in the centre
For best results, set up your computer so the camera is near eye level. The resulting video should frame your face and shoulders. A student wouldn’t be looking up or down at you in a physical classroom, so they shouldn’t be in an online setting either.
Sit close to the audio device
Do a test run – record yourself speaking for a few seconds and play it back over your headphones or speakers. If your voice sounds muffled or distant, re-position your audio-recording device and try again.
Infographic
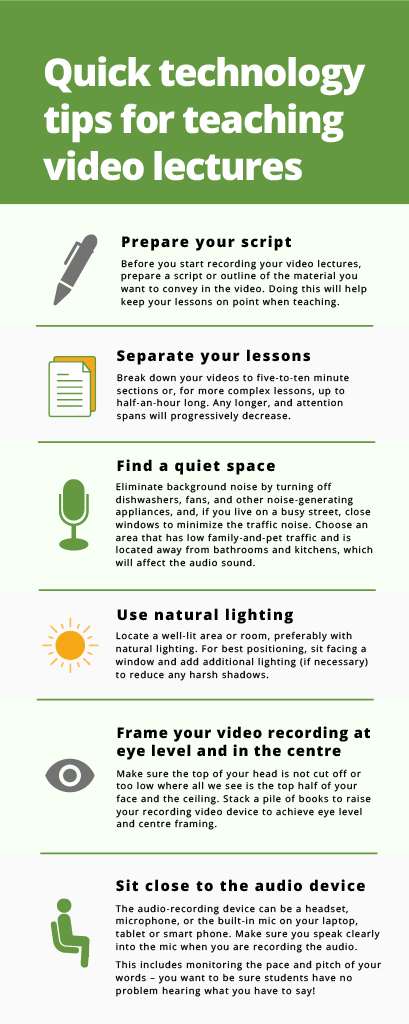
long text description
Prepare your script
Before you start recording your video lectures, prepare a script or outline of the material you want to convey in the video. Doing this will help keep your lessons on point when teaching.
Separate your lessons
Break down your videos to five-to-ten minute sections or, for more complex lessons, up to half-an-hour long. Any longer, and attention spans will progressively decrease.
Find a quiet space
Eliminate background noise by turning off dishwashers, fans, and other noise-generating appliances, and, if you live on a busy street, close windows to minimize the traffic noise. Choose an area that has low family-and-pet traffic and is located away from bathrooms and kitchens, which will affect the audio sound.
Use natural lighting
Locate a well-lit area or room, preferably with natural lighting. For best positioning, sit facing a window and add additional lighting (if necessary)to reduce any harsh shadows.
Frame your video recording at eye level and in the centre
Make sure the top of your head is not cut off or too low where all we see is the top half of your face and the ceiling. Stack a pile of books to raise your recording video device to achieve eye level and centre framing.
Sit close to the audio device
The audio-recording device can be a headset, microphone, or the built-in mic on your laptop, tablet or smart phone. Make sure you speak clearly into the mic when you are recording the audio. This includes monitoring the pace and pitch of your words – you want to be sure students have no problem hearing what you have to say!